Month: February 2021

How To Make Sourdough Crepes [Gluten Free Option]

How To Make Sourdough Crepes [Gluten Free Option]

Learn how to make homemade sourdough crepes from scratch using sourdough starter and eggs. This works perfectly with gluten free or regular sourdough starter. Sourdough crepes are the perfect addition to your weekend breakfast line up. They are so perfect for a sweet breakfast treat,…

Chicken Noodle Soup made with Bone Broth [Gluten Free]

Chicken Noodle Soup made with Bone Broth [Gluten Free]

Classic, nourishing chicken noodle soup with bone broth for added gut healing benefits. This version of the classic soup is gluten free, and makes for the perfect hearty winter meal.

How To Make DIY Essential Oil Linen Spray

How To Make DIY Essential Oil Linen Spray

Learn how to make a homemade DIY essential oil linen spray with only a few ingredients. This DIY is quick and easy so you can have a non-toxic linen spray ready in a few minutes.

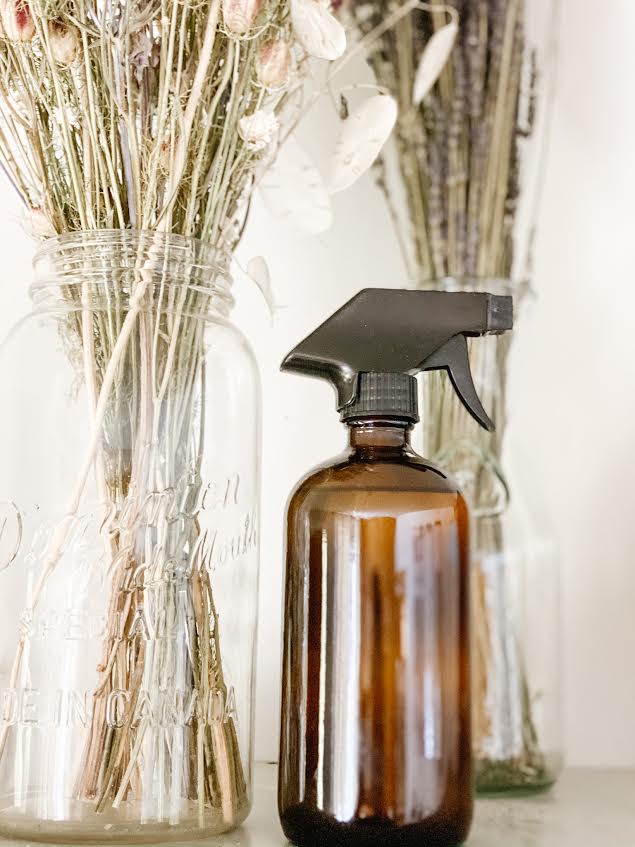
amber glass spray bottle with linen spray beside two glass jars with dried flowers

I like my home to feel warm, inviting and cozy. A big part of that is having a yummy and clean smelling home. Most linen and fabric sprays, candles, and wall plugins on the market are filled with toxic chemicals. I don’t want to bring into my home because of how they can negatively impact our health. Fragrance is a blanket statement for chemicals that don’t need to be listed because they are considered ‘trade secret’. We are constantly bombarded by carcinogens and endocrine disruptors. There is a lot that is out of my control, so I am very specific with what I will allow into my home. I’m all for doing what we can do reduce our toxic load, because the small changes add up.

How To Use DIY Essential Oil Linen Spray

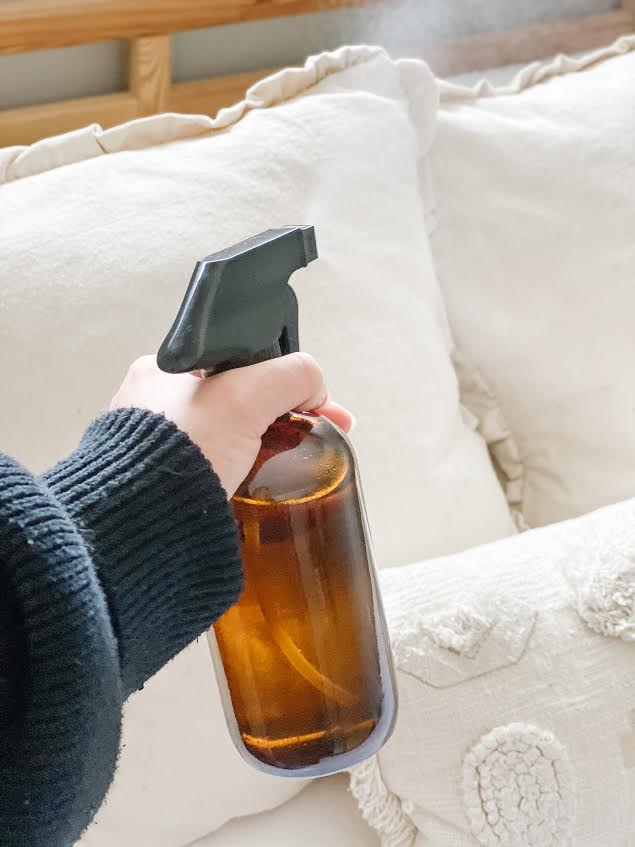
I use this linen spray on bedding, in our linen closet, and on my living room furniture to freshen things up a bit. I love to use this linen spray as a part of my evening routine because it helps to create a cozy atmosphere. There is nothing better than starting the week with fresh sheets on the bed, calming oils in the diffuser (Cedarwood and Lavender are my go-to’s), the salt lamp on, and this linen spray misted on our duvet. It is so heavenly and the perfect way to start the week off on the right foot.

woman wearing black sweater spraying linen spray in amber glass bottle

What Essential Oils Can You Use for DIY Essential Oil Linen Spray?

For this DIY Essential Oil Linen Spray you can use almost any essential oil you want. I recommend not using any oils that are typically very sticky or dark in color, like Vetiver or Myrrh, because they could stain fabric. I love Bergamot and Lavender together. Cedarwood and Lavender, Wild Orange and Lavender, Lavender and Eucalyptus, Ylang Ylang and Wild Orange are all great combinations as well. Get creative with it and use whichever oils are your favorite. I love this brand of essential oils.

What Do I Need?

To make this linen spray you only need a few ingredients and supplies.

  • 500 ml/16 oz Glass Spray Bottle
  • Vodka or Rubbing Alcohol
  • Distilled or Filtered Water
  • Essential Oils
  • A funnel

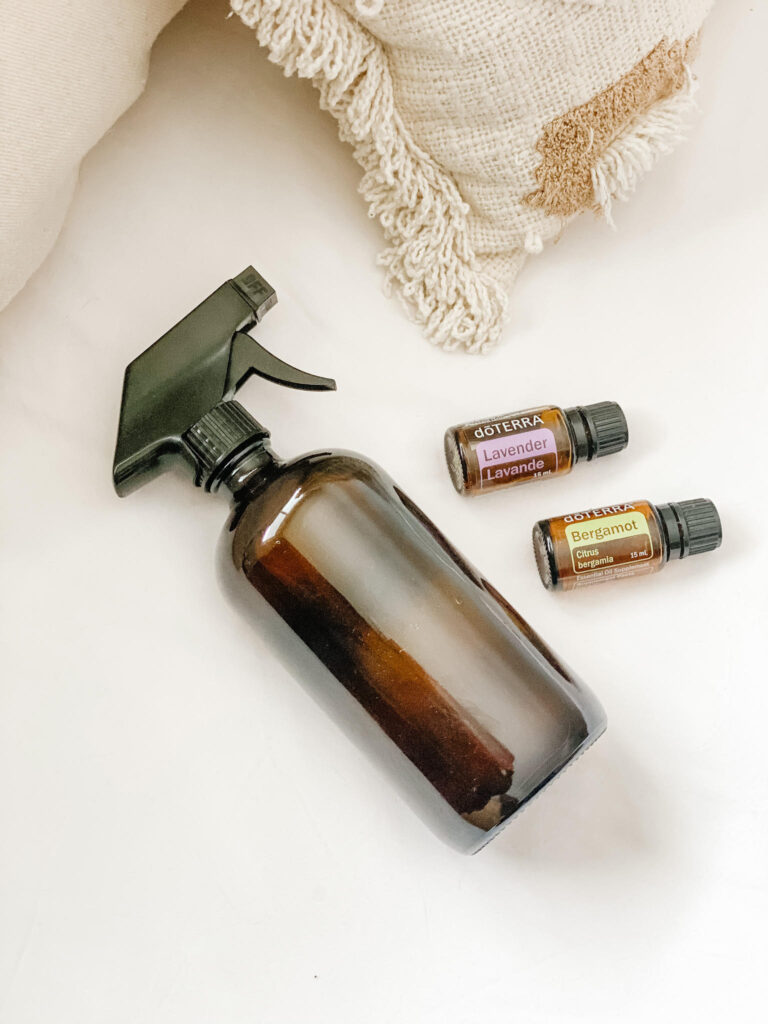
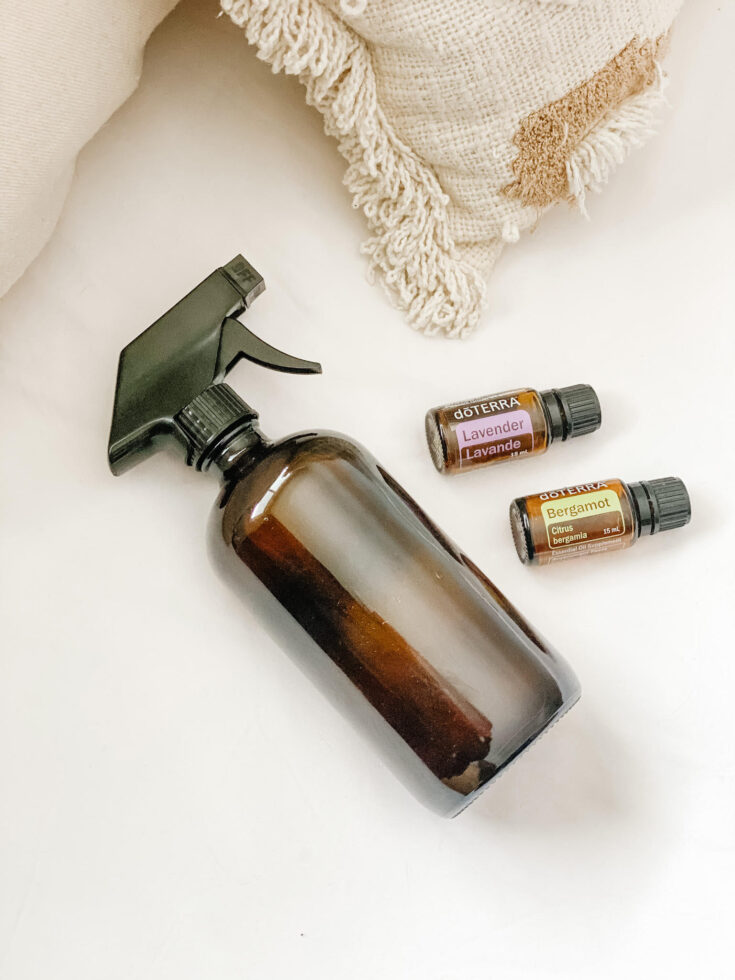
amber glass spray bottle laying on bed with linen spray beside lavender and bergamot essential oil

How Do I Make DIY Essential Oil Linen Spray?

Making DIY linen spray is super simple. Just add vodka or rubbing alcohol to the glass spray bottle. Add in 40 drops of essential oils of your choice, and top it off with distilled or filtered water. I like to use a funnel so the process a little less messy.

How To Make DIY Essential Oil Linen Spray

amber glass spray bottle filled with diy essential oil linen spray sitting on duvet with lavender and bergamot essential oils

How to make a homemade DIY essential oil linen spray with only a few ingredients. In just a few minutes you will have a toxin free scented linen spray to use in your home.

Prep Time 5 minutes
Total Time 5 minutes

Ingredients

  • 1/3 cup Vodka or Rubbing Alcohol
  • 20 drops Bergamot Essential Oil
  • 20 drops Lavender Essential Oil
  • Filtered or Distilled Water
  • 500 ml/16 oz Glass Spray Bottle

Instructions

  1. Add vodka or rubbing alcohol to the spray bottle.
  2. Add essential oils.
  3. Top off with water.
  4. Spray on linens or furniture to freshen up.

Notes

Feel free to substitute essential oils based on your preference.

Pin It For Later

More Non-Toxic Home DIY’s You Might Like

DIY Non-Toxic Fabric Softener & Scent Booster

Creamy Chicken and Rice Chili Soup [Gluten + Dairy Free]

Creamy Chicken and Rice Chili Soup [Gluten + Dairy Free]

Creamy, nourishing Chicken & Rice Chili Soup. This soup is hearty and satisfying, making it perfect for a comforting winter dinner. Nothing feels quite as cozy to me as a slow day with the outside world blanketed in snow, a clean home, and the scent…

How To Make A Gluten Free Sourdough Starter

How To Make A Gluten Free Sourdough Starter

Learn how to make a gluten free sourdough starter. All you need is flour, water, and 7 days before you can begin making delicious gluten free sourdough bread at home.

The Start of Gardening Season

The Start of Gardening Season

Looking out our back window at our property that is blanketed in snow makes it a little hard to believe that this is the time when garden planning and prepping begins. Though it is. Our seeds were ordered at the beginning of January and have since arrived. I have sorted through the previous years seeds and our new additions. A plan has been loosely set.

I spent this weekend listing out every variety of vegetable, herb, and medicinal flower I hope to grow this year. I made a tentative schedule, carefully noting when we will need to start them, and which will get sown directly when the time comes. I probably stressed my husband out just a little bit as I declared all the spaces we need to till and add beds to accommodate my plans. This year will surely be our largest garden. By far. Very, very far.

We had a decent haul last year. A deep freeze packed full of beans, peas, berries, fruit, and a canning room that wasn’t too lackluster either. We are still eating our end of summer winter squash harvest, and will be for awhile. For so many reasons, this years garden will grow substantially. Just like many others, this past year really inspired me to keep moving towards creating a space that allowed for us to be as self sufficient as possible. One day, we’ll turn this place into a little homestead, but the first step is increasing our bounty by way of a bigger garden.

Sure, we grew potatoes last year, but just a few plants to last us a couple of months. Carrots and beets we grew, but only for immediate enjoyment. As for onions? Mid summer, we shoved a few sets into an empty space in one of our raised beds. Not surprisingly, they didn’t do a whole lot. How different this year will be. I mean, hopefully, assuming all is kind to me.

I decided this year we would grow our onions from seed. That means getting them started this past weekend, though had we been prepared we could have started them even earlier. After watching a Charles Dowding video on youtube, I felt confident that it was possible to plant onions in a way that resulted in a higher yield and less effort. When starting, he suggests planting 6 seeds per cell. When it comes time to transplant, there’s no separating. Simply just transplant the entire cell, then after a while thin back a few which can be used as green onions. The remaining few will develop into your regular, large sized onions, in a fraction of the space. That seems a whole lot less daunting to me than planting each set individually for a years worth of onions.

Well, to no one’s surprise, I got carried away. We had seeds for Stuttgarter, Zoey, Cabernet, and Walla Walla onions. My initial plan was to fill a 72 cell tray, however I ended up filling two. One full tray was dedicated to Stuttgarter’s, which I hope will be our primary storage onion. In the second tray, I did 30 cells of Zoey, 32 cells of Cabernet, and 10 of Walla Walla. The last was not planned, as Walla Walla’s are best as overwintering onions, so my plan was only to start those in June, then transplant in August after harvesting our first bounty. That would provide us with an onion harvest in June of next year. There was space in the tray, so I threw a few in. I am hopeful this will be successful, and we will have our onions for the year. If they all do, we will have more than we need, but hey, I’d rather be overzealous and have some to share.

Our greenhouse is not currently in working order, though we hope it is this summer. Having two cats that like to get into everything, and ate my pepper and tomato starts last year right before I transplanted them, we knew we were going to need a better set up. While I was garden planning, dreaming, and getting our onions going, Talin handled getting a grow light shelving system set up.

Because we plan on rebuilding our green house this year, we wanted to keep this setup as inexpensive as possible. For early starts when its still cool out, we likely will continue to use this system in the coming years, but this will give us an idea of what does and doesn’t work best before we spend a ton of money on it. We bought four inexpensive LED grow lights that are two feet wide, just the size of a 72 cell tray. Each one is attached to the top of a wire shelving unit, directly above its tray. We would have preferred to have had 3 foot wide grow lights, but the price we found on those was about four times what we paid. This will work just fine for now. We have this shelving system set up in our basement shop and the grow lights set on a timer. I am slightly worried about how cool it can get down there, but we have a space heater set up near by if we need to utilize it.

Now we have a bit of a break before we get more starts going, and we can begin plan out all the space we need to make beyond our usual garden plot. Right now I am just excited for what’s to come, but I have no doubt that in the height of summer I’ll be swaying between gratitude and overwhelm, as it goes.