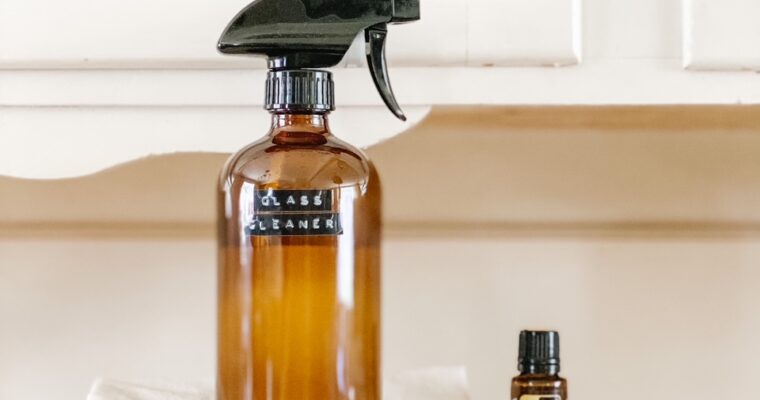
How To Switch To Clean Beauty | Non-Toxic Beauty
Learn how to switch to clean beauty, and why the products we use on our skin is so important. Beauty products are often filled with endocrine disruptors, known carcinogens, and other harmful chemicals that can be disruptive to our health. This post contains affiliate links,…